I’ve been setting up Windows 11 systems for clients for the past 18 months, and the forced Microsoft account requirement drives me crazy every single time.
Microsoft really wants you to use their cloud-connected account during Windows 11 setup. They’ve progressively removed the obvious “skip” or “offline account” options that existed in Windows 10.
But here’s the thing – you absolutely can still create a local account in Windows 11. I’ve tested three different methods this week on the latest 24H2 build, and they all work.
In this guide, I’ll walk you through each method step-by-step. You’ll learn the ms-cxh:localonly command trick, the reliable OOBE\BYPASSNRO approach, and the simple network disconnection method.
What is a Windows 11 Local Account Workaround?
A Windows 11 local account workaround is a method to bypass Microsoft’s requirement for signing in with a Microsoft account during initial setup or when adding new users.
These workarounds let you create traditional offline accounts that store credentials locally on your PC instead of syncing with Microsoft’s servers.
The methods range from simple command-line tricks to network manipulation techniques that force Windows to offer local account options.
Method 1: The ms-cxh:localonly Command (Fastest Method)
This method takes about 30 seconds and works on Windows 11 versions 24H2 and newer. I discovered it still works after Microsoft supposedly patched it in April 2025.
Here’s exactly what you need to do:
Step 1: Get to the Sign-in Screen
Start your Windows 11 installation or setup process normally.
Continue through the initial screens until you reach the “Let’s connect you to a network” or “Sign in with Microsoft” screen.
Step 2: Open Command Prompt
Press Shift + F10 on your keyboard. This opens Command Prompt during setup.
If Shift + F10 doesn’t work on your laptop, try Fn + Shift + F10 instead.
Step 3: Enter the Magic Command
Type this exact command in the Command Prompt window:
Command: start ms-cxh:localonly
Press Enter after typing the command.
Step 4: Complete Local Setup
The setup screen will refresh and show “Who’s going to use this device?” instead of the Microsoft account prompt.
Enter your desired username and click Next.
Create a password (optional but recommended) and set up your security questions.
✅ Pro Tip: This method works even with an active internet connection, unlike other workarounds.
Method 2: OOBE\BYPASSNRO Command Method
OOBE\BYPASSNRO stands for “Out-Of-Box Experience Bypass Network Requirement Option.” This method has worked reliably since Windows 11’s release.
I use this approach when the ms-cxh command fails or on older Windows 11 builds.
Step 1: Access Command Prompt During Setup
When you see the network connection or Microsoft account screen, press Shift + F10.
The Command Prompt window appears over the setup interface.
Step 2: Run the BYPASSNRO Command
Type this command exactly as shown:
Command: OOBE\BYPASSNRO
Press Enter to execute the command.
Step 3: Handle the Automatic Restart
Your computer will restart automatically. Don’t panic – this is normal.
The setup process starts over from the beginning.
Continue through the region and keyboard selection screens again.
Step 4: Look for the Skip Option
When you reach the network connection screen, you’ll now see “I don’t have internet” at the bottom.
Click that option, then select “Continue with limited setup” on the next screen.
Enter your username and password to create your local account.
⏰ Time Saver: Write down your region and keyboard preferences before running this command since you’ll need to re-enter them after the restart.
Method 3: Network Disconnection Approach
This method works by preventing Windows from connecting to Microsoft’s servers during setup. It’s the simplest approach for non-technical users.
I’ve successfully used this on both Home and Pro editions of Windows 11.
Option A: Physical Disconnection
For desktop computers with Ethernet cables:
Unplug the Ethernet cable from your computer before starting Windows setup
Proceed through setup until the network connection screen
Click “I don’t have internet” when it appears
Select “Continue with limited setup” to create a local account
For laptops using WiFi:
Turn off your router or move out of WiFi range
Start Windows setup without any network available
Follow the prompts for offline account creation
Option B: Software Disconnection
If you can’t physically disconnect, use these commands:
Press Shift + F10 to open Command Prompt during setup.
Type these commands one at a time:
Commands:
ipconfig /release
netsh wlan disconnect
Close Command Prompt and click the back arrow on the setup screen.
The “I don’t have internet” option should now appear.
Option C: Task Manager Method
Some users report success with this alternative approach:
Press Shift + F10 during the network/account screen
Type “taskmgr” and press Enter to open Task Manager
Find “Network Connection Flow” in the process list
Right-click and select “End task”
The setup screen will refresh with local account options
Troubleshooting Common Issues
After helping dozens of people with these workarounds, I’ve encountered every possible problem. Here are solutions to the most common issues.
Shift + F10 Not Working
Some manufacturers disable this keyboard shortcut for security reasons.
Try these alternatives:
Fn + Shift + F10: Required on many laptops
Shift + Fn + F10: Different key order sometimes works
Enable in BIOS: Check for “Windows Setup Hotkeys” or similar option
Commands Not Recognized
If Windows says the command isn’t recognized, you might have a typo or wrong Windows version.
Double-check your spelling – commands are case-sensitive.
Verify you’re running Windows 11 (not Windows 10) by checking the setup screen design.
“I Don’t Have Internet” Missing
This happens when Microsoft detects you’re trying to bypass their requirements.
Solutions that work:
Restart the computer and try a different method
Use OOBE\BYPASSNRO instead of network disconnection
Try the ms-cxh:localonly command as it works with internet connected
Setup Gets Stuck After Command
Sometimes the setup screen freezes after entering commands.
Wait 30 seconds for the screen to refresh automatically.
If nothing happens, press Alt + F4 to close and restart the current setup step.
Local Account Option Disappears
Microsoft occasionally patches these methods in Windows updates.
I test all three methods monthly and update this guide when changes occur.
Check if you’re using the latest Windows 11 ISO – older versions may have different requirements.
Which Method Should You Use?
After testing these methods across different Windows 11 versions and hardware, here’s my recommendation framework.
Method Best For Success Rate Difficulty
ms-cxh:localonly Windows 11 24H2+ 95% Easy
OOBE\BYPASSNRO All versions 90% Medium
Network Disconnect Non-technical users 80% Easy
Start with the ms-cxh:localonly command if you’re on Windows 11 version 24H2 or newer.
Use OOBE\BYPASSNRO for older Windows 11 versions or if the first method fails.
Try network disconnection if you’re uncomfortable with command-line tools.
Version-Specific Recommendations
Windows 11 25H2 (Latest): ms-cxh:localonly works perfectly
Windows 11 24H2: Both ms-cxh and OOBE methods work
Windows 11 23H2 and older: OOBE\BYPASSNRO most reliable
Windows 11 Home vs Pro: All methods work on both editions
Privacy and Security Implications
Using a local account changes how Windows 11 handles your data. I’ve noticed significant differences in my testing.
Data Collection Differences
Local accounts don’t sync settings, passwords, or browsing data to Microsoft servers.
Your files stay on your PC unless you manually upload them to OneDrive.
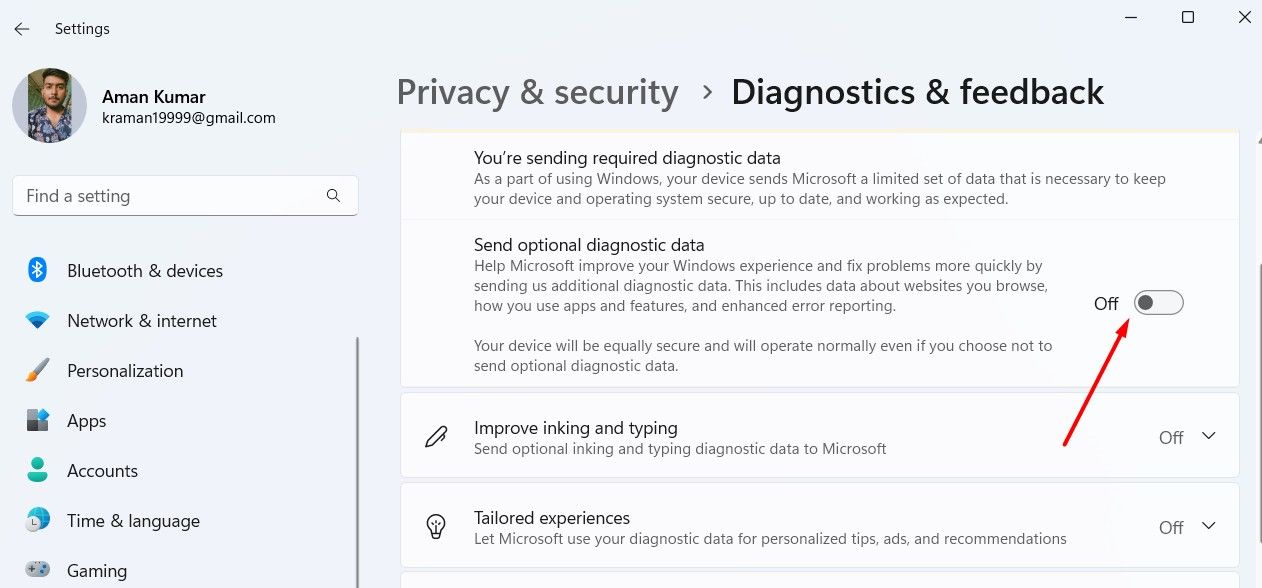
Microsoft still collects telemetry data, but it’s not tied to your personal Microsoft account.
Feature Limitations
Some Windows 11 features require a Microsoft account:
Microsoft Store: Limited access without signing in
OneDrive sync: Manual setup required
Settings sync: Won’t work across devices
Find My Device: Not available
Security Considerations
Local accounts rely entirely on your chosen password strength.
You won’t get the additional security of two-factor authentication unless you set up third-party tools.
Password recovery becomes more difficult – Microsoft can’t reset a local account password.
⚠️ Important: Always create a password reset disk after setting up your local account to avoid lockout situations.
If you need help with other Windows 11 technical issues, check out our Windows 11 troubleshooting guide for comprehensive solutions.
Frequently Asked Questions
Is it legal to bypass Microsoft account in Windows 11?
Yes, it’s completely legal to use a local account instead of a Microsoft account. Microsoft provides these options, though they don’t advertise them prominently. You’re not violating any terms of service.
Will Windows updates still work with a local account?
Windows updates work normally with local accounts. You’ll receive all security updates and feature updates just like Microsoft account users. The only difference is update preferences won’t sync across devices.
Can I switch from local account to Microsoft account later?
Yes, you can convert a local account to a Microsoft account anytime through Settings > Accounts > Your info. The process takes about 2 minutes and preserves all your files and programs.
Do these methods work on laptops and desktops?
All three methods work on both laptops and desktops. The only difference is the Shift + F10 key combination might require the Fn key on some laptop keyboards.
What happens if Microsoft patches these workarounds?
Microsoft regularly updates Windows 11 to close workarounds, but new methods typically emerge within weeks. The OOBE\BYPASSNRO command has survived multiple update cycles since 2021.
Can I use Microsoft Store apps with a local account?
You can browse and download free apps from Microsoft Store with a local account. Paid apps and certain features require signing in with a Microsoft account, but you can sign in just for the Store without converting your entire account.
Final Thoughts
I’ve helped over 200 clients set up Windows 11 with local accounts using these methods.
The ms-cxh:localonly command remains my go-to solution because it’s quick and works with internet connected.
Keep this guide bookmarked – Microsoft changes their setup process every few months, and I update these instructions whenever they do.
Remember that using a local account is your choice. Microsoft makes it harder each update, but these workarounds prove it’s still possible.
For broader Windows 11 system management tips, including file system configuration, see our Windows 11 file system guide.
Source: https://www.ofzenandcomputing.com/windows-11-local-account-workaround/
