The Settings app is one of the most important Windows 10 features because you control the whole system with it.
Basically, if you want to change most of the features in your OS, you are usually going through this app. And if it stops working, you can have serious issues.
What causes Settings not to open?
There can be a lot of reasons for which the Settings app won’t open in Windows 10 and just as many for which it won’t launch in Windows 11. Depending on their complexity, we outlined a few of the possible issues.
➡ An OS update – Sometimes, this problem manifests after a Windows update although before it worked just fine. The solution here is to roll back the update that caused the issue.
➡ Corrupted app – When it happens out of nowhere, without obvious reasons, the problem is usually caused by the corruption of the app by power outages, malware, or similar factors but the solutions below will help you fix it.
➡ Glitches and junk files – Too many junk files on your PC can cause serious damage in time but can also be responsible for this problem. Cleaning the unnecessary files from your PC is a must in this situation.
➡ System bugs – Sometimes, the system can be influenced by third-party corrupt apps and a simple uninstall or a reboot can get things back to normal. Booting in Safe Mode is also a solution because it prevents third-party apps from loading.
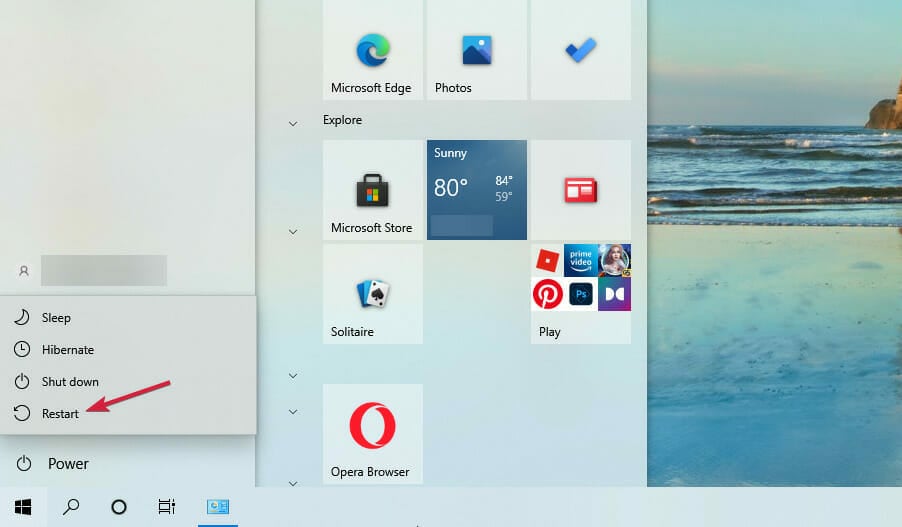
To boot in Safe Mode you just need to hold the Shift key while clicking the Start button, then the Power option, and selecting Restart.
 NOTE
NOTEIn this case, you should be able to use Windows Startup Repair to recover your Settings apps.
How do I fix Windows Settings won’t open?

1. Run the SFC/scannow command
1. Click the Start button to open the Windows Search box.
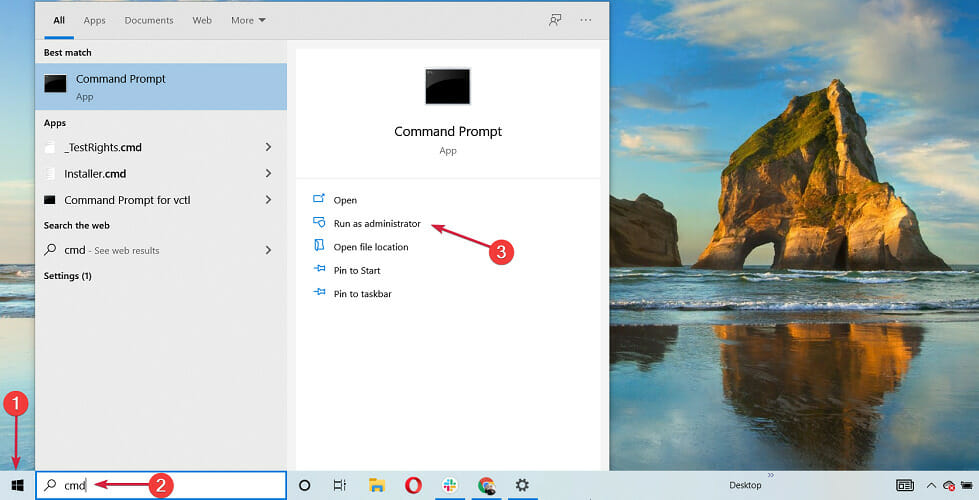
2. Type cmd in it and select Run as administrator to start Command Prompt with full privileges.

3. Enter the following line and press Enter:
sfc/scannow
4. Wait until the process is done.
5. Close Command Prompt and restart your computer. To do that, click the Start button, select the Power button, and choose Restart.

The SFC command will completely scan your computer for issues, and it will provide a suitable solution (if available)
So, it will for sure cover the Windows Settings app not opening problem, and besides that, it may solve some problems that you even didn’t know about.
If you have problems with the SFC process, we’ve got a guide that will help you learn what to do if the scannow command stops before finishing the process.
2. Use Powershell to reinstall preinstalled apps
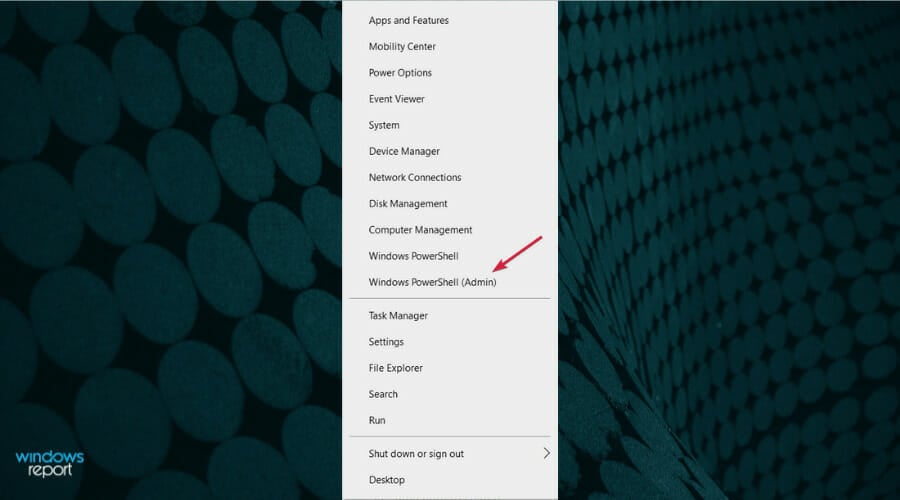
- Right-click the Start button and select Windows PowerShell (Admin) from the list.
- Type or paste this code and press Enter to run it:
powershell -ExecutionPolicy Unrestricted Add-AppxPackage -DisableDevelopmentMode -Register $Env:SystemRoot\ImmersiveControlPanel\AppxManifest.xml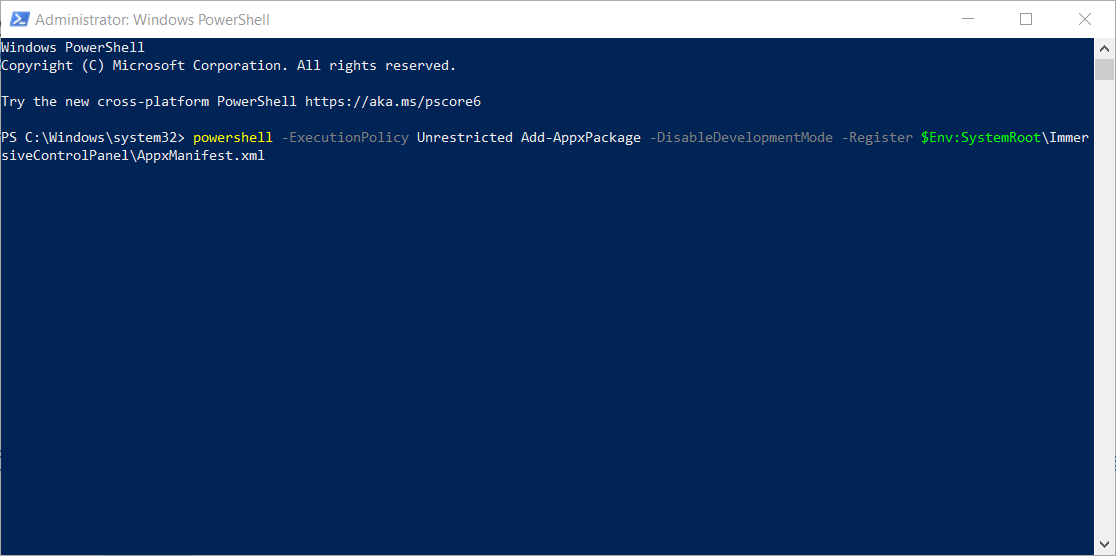
- This process might take a while, so make sure that you wait until it’s finished.
3. Run DISM
- Click the Start button, type cmd and choose Run as administrator to start Command Prompt with full rights.

- Type in the following command and press Enter:
DISM.exe /Online /Cleanup-image /Restorehealth
- Wait for the process to finish, then click the Start button, select the Power button and choose Restart to reboot your PC.

Deployment Image Servicing and Management (DISM) is another built-in troubleshooting tool from Windows.
As its name says, DISM deploys the system image all over again, refreshing all the system features on the way, including the Settings app. Do not hesitate to learn what to do if DISM fails before finishing the process.
4. Update Windows
- Click the Start button and type update, then select Check for updates from the results.

- Now, click the Check for updates button. If there are any new updates, the system will download and install them.

Microsoft usually releases patches and fixes for various system problems through Windows Update.
The solution above still directs you to the Settings app so if you still can’t access it, the only solution you have in this case is to install the updates manually.
Go to the Windows Update Catalog page, find the latest update for your version of Windows 10, and follow further instructions to download the update directly.
5. Create a new user account
- Click the Start button, type cmd and select Run as administrator to start Command Prompt with full privileges.
- Type or paste the following command and press Enter to run it (make sure you replace username and password with the user name and password of your choice):
net user /add username and password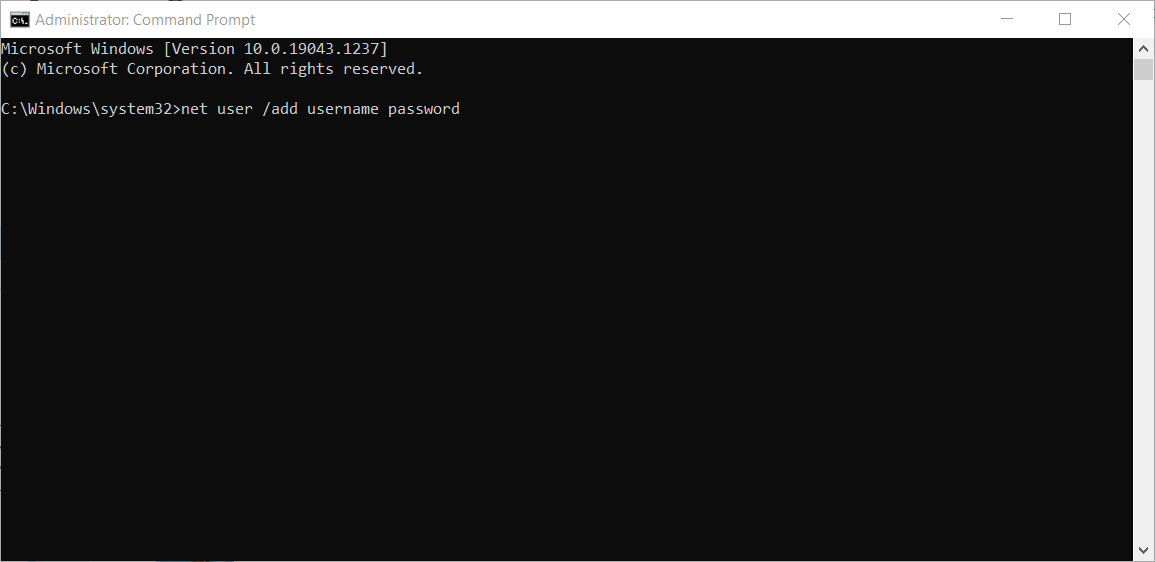
- Now give it administrator privileges by entering the following command and press Enter (make sure you replace username with the name of the user you created earlier):
net localgroup administrators username /add
- Now login with the new user you just created and try to open the Settings app again.
If your user account is broken or corrupted, you may not be able to access all the Windows 10 features. The same thing may happen if you’re using a user account that doesn’t have administrative rights.
So, make sure that your account has all the necessary permissions to access the Settings page. If not, you can create a new account and check if this solved the problem.
And we can also help you find out what to do if your user profile is corrupted.
What can I do if Windows 10 Settings won’t open in Safe Mode?
- Press and hold the power button to force your computer to shut down (You may need to perform this action more than once).
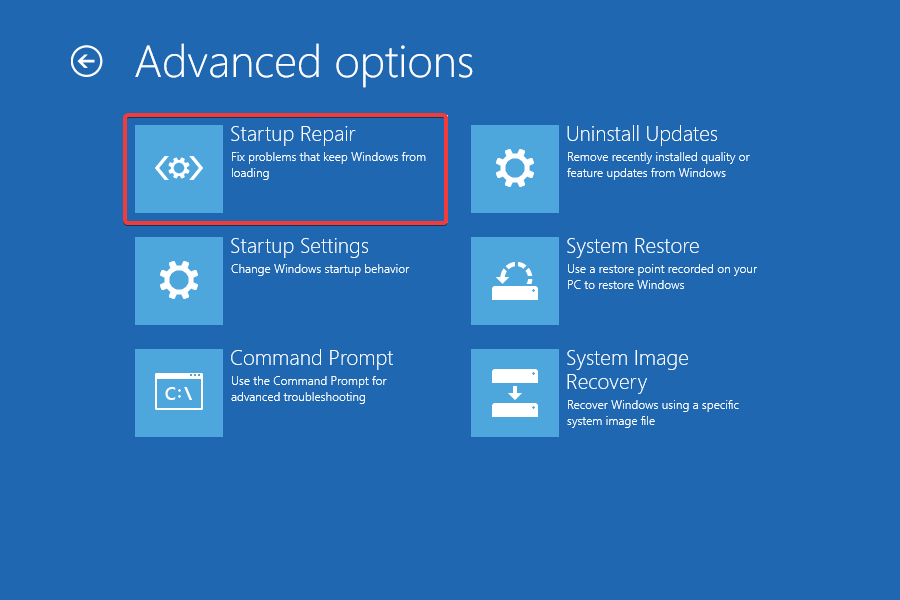
- Once your computer boots into the blue screen, select Troubleshoot among the options.
- Next, go to Advanced options and choose Startup Repair.
- Introduce the credentials associated with your user account and proceed with the Startup Repair.
If the Windows Settings won’t open (not even in Safe Mode), you should be able to recover them with this method.
Are there any other possible issues with the Settings app?
Here are some more examples of similar issues you can resolve with the same solutions:
- Windows 10 Settings app won’t open – The most common issue with the Settings app in Windows 10 is when you just click the icon, but nothing happens.
- Windows 10 Settings app missing – In some cases, you won’t be able to even locate the Settings app icon, as it completely disappeared from the Start Menu.
- Windows 10 Settings app crashes – Another common issue is when you’re actually able to open the Settings app, but it crashes immediately upon launch.
- Windows 10 Settings grayed out – And the least common (but still possible) scenario is when the Settings app icon is just grayed out in the Start Menu.
How can I quickly open the Settings app?
Sometimes, just a way of opening the Settings app might be the problem, so trying out different methods may lead to success. That’s why we encourage you to check a few more suggestions:
- Use the Start button
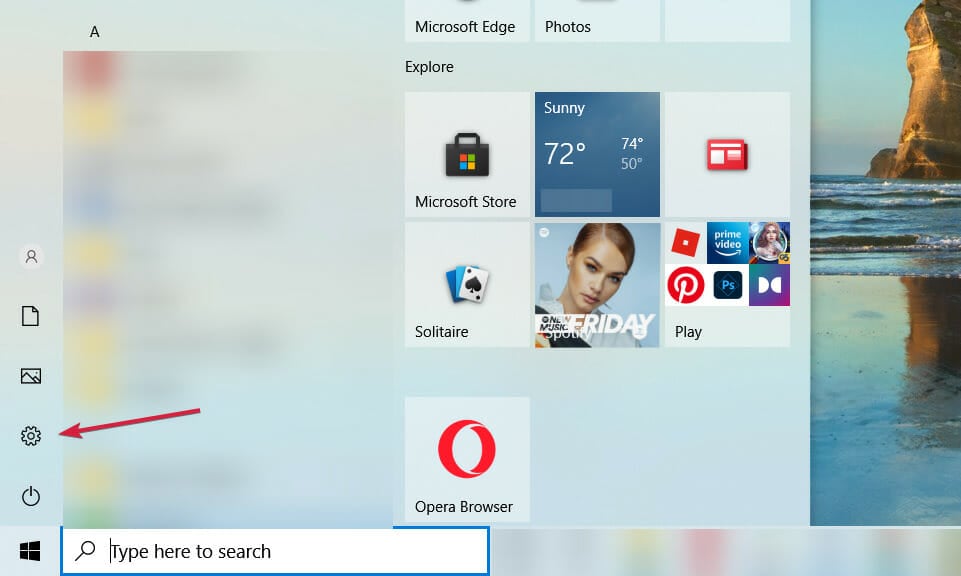
This is the most simple way of doing it. Just click the Start button and select Settings.
2. Use the Search function
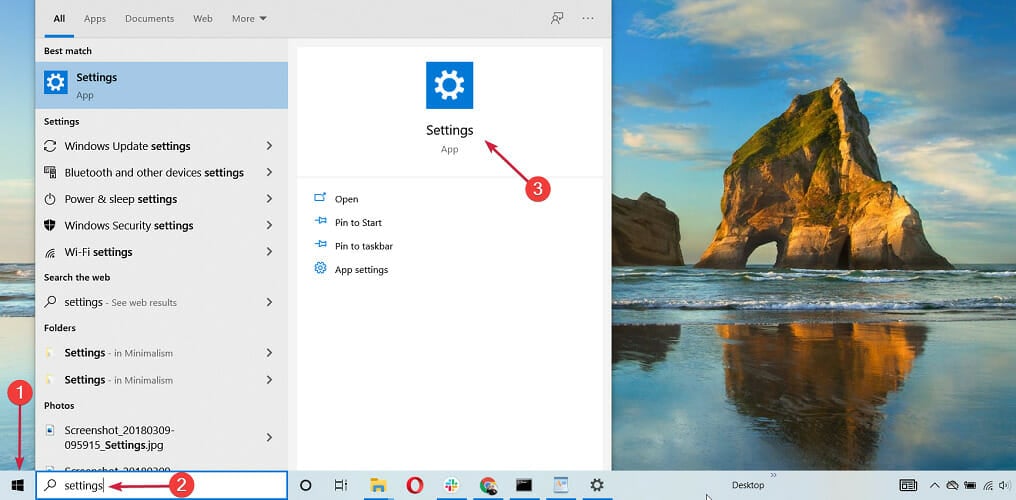
A close runner-up solution is to click the Start button, then type settings and open the app from the results.
3. Right-click the Start button
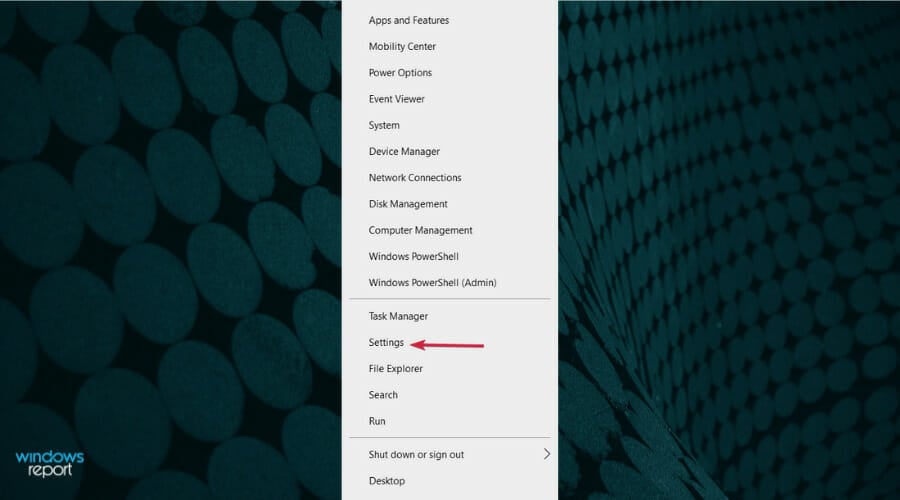
It’s also easy to right-click the Start button and select Settings from the list of options.
4. Use the Settings shortcut
You can also open the Settings app by using the Windows key + I shortcut from your keyboard. It’s extremely fast and effective.
Try to remember it because if you find yourself in a situation where the mouse is not responding or the screen is frozen, this might be the only method left.
5. Use the Run app
- Press the Windows key + R to start the Run app.

- Type ms-settings: (include the : character at the end. It’s not a mistake) and press Enter or click OK.

6. Use Command Prompt
- Click the Start button, type cmd and select Run as administrator.

- Type start ms-settings: and press Enter to run it.

Of course, there are many ways to open the Settings app. For instance, you can also ask Cortana to open it, but the important thing is to actually work.
What does Windows cannot find ms-settings mean?
Several of our readers encountered the message when trying to start Settings from the Command Prompt console: Windows cannot find ms-settings. Make sure you typed the name correctly, and then try again.
Luckily, this is just a simple typing error. The correct command is start ms-settings:. Without the semicolon symbol (:) at the end, you get this error.
We hope that our solutions helped you solve the Settings app problem in Windows 10 and now everything is back to normal. Now, the Settings app can be just one side to the story. If no Windows 10 programs seem to work, you might want to take your troubleshooting even further.
If this issue occurred after a Windows update, make sure you installed any patch after it because Microsoft may have already released one.
Even if you still can’t access the Settings, you will get a notification in the system tray and you might be able to get it from there.
Now that you fixed the Settings app in Windows 10, you might be interested in the best Windows 10 optimizer software that can solve system issues and make your PC run faster.
For more questions and suggestions, reach out to the comments section below and we’ll be sure to take a look.


