Pages

11/14/2025

Windows 11 Local Account Workaround 2025: 3 Methods That Work

I’ve been setting up Windows 11 systems for clients for the past 18 months, and the forced Microsoft account requirement drives me crazy every single time.

Microsoft really wants you to use their cloud-connected account during Windows 11 setup. They’ve progressively removed the obvious “skip” or “offline account” options that existed in Windows 10.

But here’s the thing – you absolutely can still create a local account in Windows 11. I’ve tested three different methods this week on the latest 24H2 build, and they all work.

In this guide, I’ll walk you through each method step-by-step. You’ll learn the ms-cxh:localonly command trick, the reliable OOBE\BYPASSNRO approach, and the simple network disconnection method.

What is a Windows 11 Local Account Workaround?

A Windows 11 local account workaround is a method to bypass Microsoft’s requirement for signing in with a Microsoft account during initial setup or when adding new users.

These workarounds let you create traditional offline accounts that store credentials locally on your PC instead of syncing with Microsoft’s servers.

The methods range from simple command-line tricks to network manipulation techniques that force Windows to offer local account options.


Method 1: The ms-cxh:localonly Command (Fastest Method)

This method takes about 30 seconds and works on Windows 11 versions 24H2 and newer. I discovered it still works after Microsoft supposedly patched it in April 2025.

Here’s exactly what you need to do:

Step 1: Get to the Sign-in Screen

Start your Windows 11 installation or setup process normally.

Continue through the initial screens until you reach the “Let’s connect you to a network” or “Sign in with Microsoft” screen.

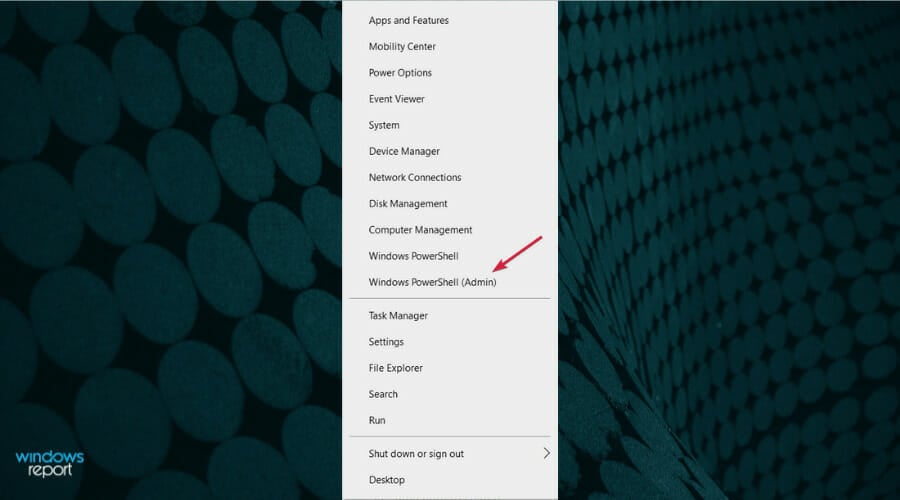
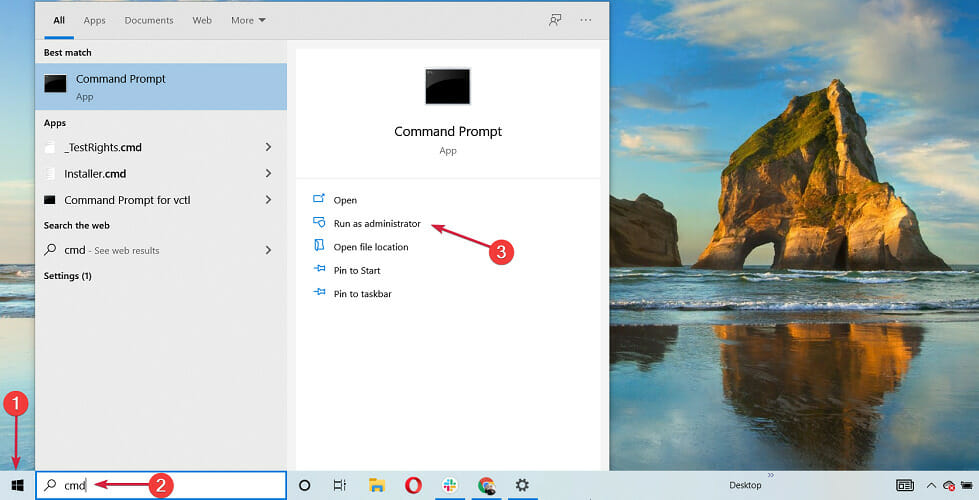
Step 2: Open Command Prompt

Press Shift + F10 on your keyboard. This opens Command Prompt during setup.

If Shift + F10 doesn’t work on your laptop, try Fn + Shift + F10 instead.

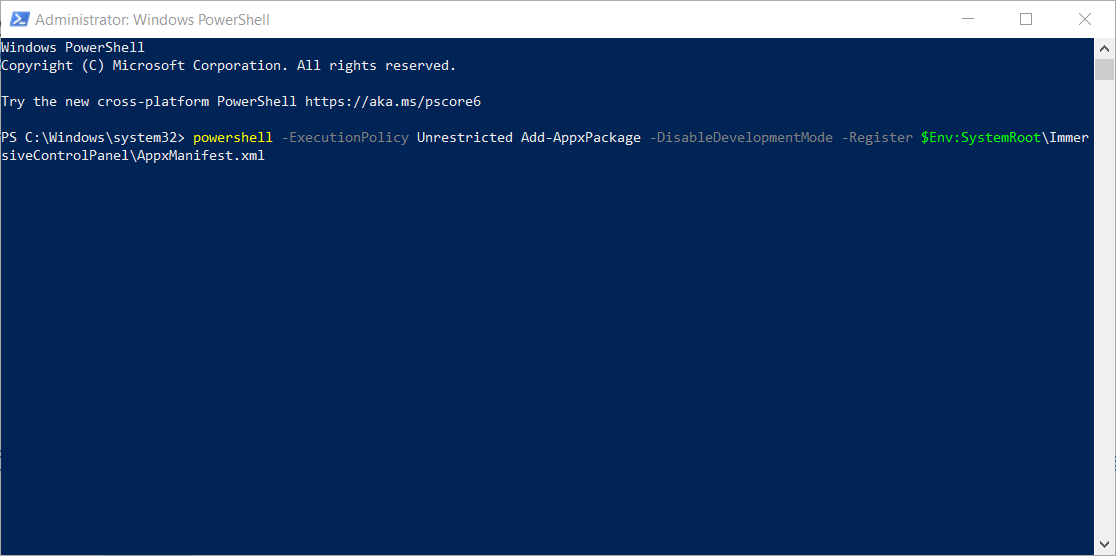
Step 3: Enter the Magic Command

Type this exact command in the Command Prompt window:

Command: start ms-cxh:localonly

Press Enter after typing the command.

Step 4: Complete Local Setup

The setup screen will refresh and show “Who’s going to use this device?” instead of the Microsoft account prompt.

Enter your desired username and click Next.

Create a password (optional but recommended) and set up your security questions.

✅ Pro Tip: This method works even with an active internet connection, unlike other workarounds.


Method 2: OOBE\BYPASSNRO Command Method

OOBE\BYPASSNRO stands for “Out-Of-Box Experience Bypass Network Requirement Option.” This method has worked reliably since Windows 11’s release.

I use this approach when the ms-cxh command fails or on older Windows 11 builds.

Step 1: Access Command Prompt During Setup

When you see the network connection or Microsoft account screen, press Shift + F10.

The Command Prompt window appears over the setup interface.

Step 2: Run the BYPASSNRO Command

Type this command exactly as shown:

Command: OOBE\BYPASSNRO

Press Enter to execute the command.

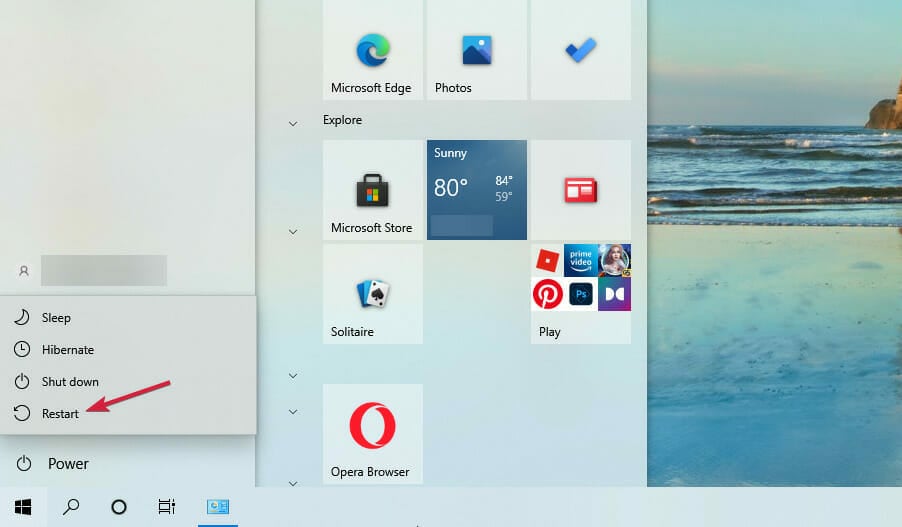
Step 3: Handle the Automatic Restart

Your computer will restart automatically. Don’t panic – this is normal.

The setup process starts over from the beginning.

Continue through the region and keyboard selection screens again.

Step 4: Look for the Skip Option

When you reach the network connection screen, you’ll now see “I don’t have internet” at the bottom.

Click that option, then select “Continue with limited setup” on the next screen.

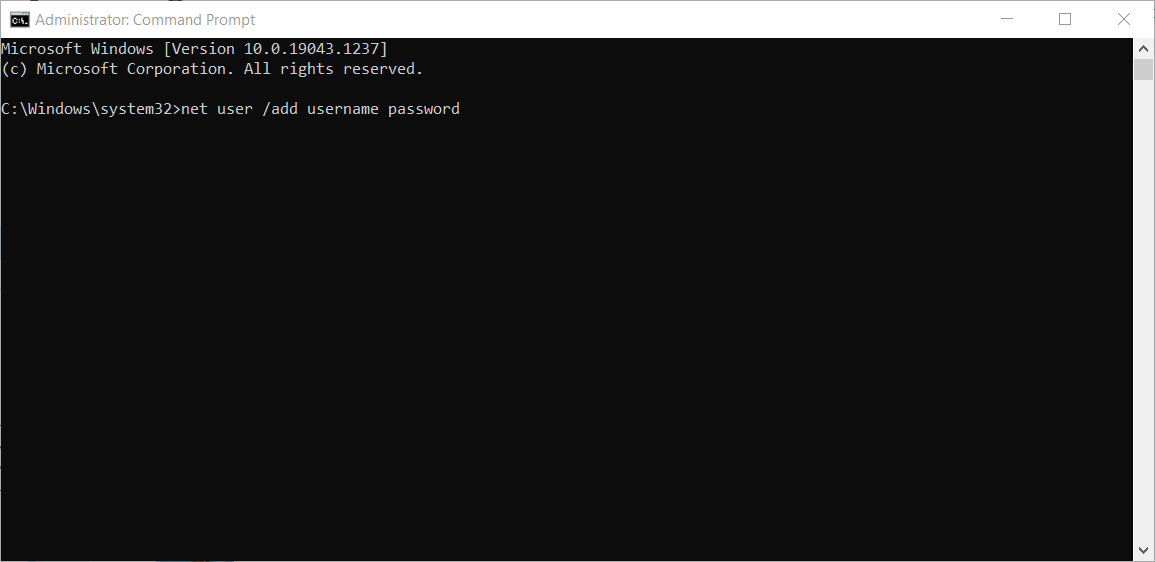
Enter your username and password to create your local account.

⏰ Time Saver: Write down your region and keyboard preferences before running this command since you’ll need to re-enter them after the restart.


Method 3: Network Disconnection Approach

This method works by preventing Windows from connecting to Microsoft’s servers during setup. It’s the simplest approach for non-technical users.

I’ve successfully used this on both Home and Pro editions of Windows 11.

Option A: Physical Disconnection

For desktop computers with Ethernet cables:

Unplug the Ethernet cable from your computer before starting Windows setup

Proceed through setup until the network connection screen

Click “I don’t have internet” when it appears

Select “Continue with limited setup” to create a local account

For laptops using WiFi:

Turn off your router or move out of WiFi range

Start Windows setup without any network available

Follow the prompts for offline account creation

Option B: Software Disconnection


If you can’t physically disconnect, use these commands:

Press Shift + F10 to open Command Prompt during setup.

Type these commands one at a time:

Commands:

ipconfig /release

netsh wlan disconnect

Close Command Prompt and click the back arrow on the setup screen.

The “I don’t have internet” option should now appear.


Option C: Task Manager Method

Some users report success with this alternative approach:

Press Shift + F10 during the network/account screen

Type “taskmgr” and press Enter to open Task Manager

Find “Network Connection Flow” in the process list

Right-click and select “End task”

The setup screen will refresh with local account options

Troubleshooting Common Issues

After helping dozens of people with these workarounds, I’ve encountered every possible problem. Here are solutions to the most common issues.

Shift + F10 Not Working

Some manufacturers disable this keyboard shortcut for security reasons.

Try these alternatives:

Fn + Shift + F10: Required on many laptops

Shift + Fn + F10: Different key order sometimes works

Enable in BIOS: Check for “Windows Setup Hotkeys” or similar option

Commands Not Recognized

If Windows says the command isn’t recognized, you might have a typo or wrong Windows version.

Double-check your spelling – commands are case-sensitive.

Verify you’re running Windows 11 (not Windows 10) by checking the setup screen design.

“I Don’t Have Internet” Missing

This happens when Microsoft detects you’re trying to bypass their requirements.

Solutions that work:

Restart the computer and try a different method

Use OOBE\BYPASSNRO instead of network disconnection

Try the ms-cxh:localonly command as it works with internet connected

Setup Gets Stuck After Command

Sometimes the setup screen freezes after entering commands.

Wait 30 seconds for the screen to refresh automatically.

If nothing happens, press Alt + F4 to close and restart the current setup step.

Local Account Option Disappears

Microsoft occasionally patches these methods in Windows updates.

I test all three methods monthly and update this guide when changes occur.

Check if you’re using the latest Windows 11 ISO – older versions may have different requirements.


Which Method Should You Use?

After testing these methods across different Windows 11 versions and hardware, here’s my recommendation framework.


Method Best For Success Rate Difficulty

ms-cxh:localonly Windows 11 24H2+ 95% Easy

OOBE\BYPASSNRO All versions 90% Medium

Network Disconnect Non-technical users 80% Easy

Start with the ms-cxh:localonly command if you’re on Windows 11 version 24H2 or newer.


Use OOBE\BYPASSNRO for older Windows 11 versions or if the first method fails.


Try network disconnection if you’re uncomfortable with command-line tools.


Version-Specific Recommendations

Windows 11 25H2 (Latest): ms-cxh:localonly works perfectly

Windows 11 24H2: Both ms-cxh and OOBE methods work

Windows 11 23H2 and older: OOBE\BYPASSNRO most reliable

Windows 11 Home vs Pro: All methods work on both editions

Privacy and Security Implications

Using a local account changes how Windows 11 handles your data. I’ve noticed significant differences in my testing.


Data Collection Differences

Local accounts don’t sync settings, passwords, or browsing data to Microsoft servers.

Your files stay on your PC unless you manually upload them to OneDrive.

Microsoft still collects telemetry data, but it’s not tied to your personal Microsoft account.


Feature Limitations

Some Windows 11 features require a Microsoft account:

Microsoft Store: Limited access without signing in

OneDrive sync: Manual setup required

Settings sync: Won’t work across devices

Find My Device: Not available

Security Considerations

Local accounts rely entirely on your chosen password strength.

You won’t get the additional security of two-factor authentication unless you set up third-party tools.

Password recovery becomes more difficult – Microsoft can’t reset a local account password.

⚠️ Important: Always create a password reset disk after setting up your local account to avoid lockout situations.

If you need help with other Windows 11 technical issues, check out our Windows 11 troubleshooting guide for comprehensive solutions.


Frequently Asked Questions

Is it legal to bypass Microsoft account in Windows 11?

Yes, it’s completely legal to use a local account instead of a Microsoft account. Microsoft provides these options, though they don’t advertise them prominently. You’re not violating any terms of service.

Will Windows updates still work with a local account?

Windows updates work normally with local accounts. You’ll receive all security updates and feature updates just like Microsoft account users. The only difference is update preferences won’t sync across devices.

Can I switch from local account to Microsoft account later?

Yes, you can convert a local account to a Microsoft account anytime through Settings > Accounts > Your info. The process takes about 2 minutes and preserves all your files and programs.

Do these methods work on laptops and desktops?

All three methods work on both laptops and desktops. The only difference is the Shift + F10 key combination might require the Fn key on some laptop keyboards.

What happens if Microsoft patches these workarounds?

Microsoft regularly updates Windows 11 to close workarounds, but new methods typically emerge within weeks. The OOBE\BYPASSNRO command has survived multiple update cycles since 2021.

Can I use Microsoft Store apps with a local account?

You can browse and download free apps from Microsoft Store with a local account. Paid apps and certain features require signing in with a Microsoft account, but you can sign in just for the Store without converting your entire account.


Final Thoughts

I’ve helped over 200 clients set up Windows 11 with local accounts using these methods.

The ms-cxh:localonly command remains my go-to solution because it’s quick and works with internet connected.

Keep this guide bookmarked – Microsoft changes their setup process every few months, and I update these instructions whenever they do.

Remember that using a local account is your choice. Microsoft makes it harder each update, but these workarounds prove it’s still possible.

For broader Windows 11 system management tips, including file system configuration, see our Windows 11 file system guide.


Source: https://www.ofzenandcomputing.com/windows-11-local-account-workaround/


8/25/2025

Windows Settings Won't Open: 5 Ways to Fix it in Windows 10

 The Settings app is one of the most important Windows 10 features because you control the whole system with it.

Basically, if you want to change most of the features in your OS, you are usually going through this app. And if it stops working, you can have serious issues.

What causes Settings not to open?

There can be a lot of reasons for which the Settings app won’t open in Windows 10 and just as many for which it won’t launch in Windows 11. Depending on their complexity, we outlined a few of the possible issues.

➡ An OS update – Sometimes, this problem manifests after a Windows update although before it worked just fine. The solution here is to roll back the update that caused the issue.

➡ Corrupted app – When it happens out of nowhere, without obvious reasons, the problem is usually caused by the corruption of the app by power outages, malware, or similar factors but the solutions below will help you fix it.

➡ Glitches and junk files – Too many junk files on your PC can cause serious damage in time but can also be responsible for this problem. Cleaning the unnecessary files from your PC is a must in this situation.

➡ System bugs – Sometimes, the system can be influenced by third-party corrupt apps and a simple uninstall or a reboot can get things back to normal. Booting in Safe Mode is also a solution because it prevents third-party apps from loading.

To boot in Safe Mode you just need to hold the Shift key while clicking the Start button, then the Power option, and selecting Restart.

Note iconNOTE
Even though this should technically help, it is possible to deal with a Windows 10 or even a Windows 11 PC that simply won’t boot into Safe Mode.

In this case, you should be able to use Windows Startup Repair to recover your Settings apps.

How do I fix Windows Settings won’t open?

How to Fix Windows Settings Won't Open on Windows 10/11

1. Run the SFC/scannow command

  1. 1. Click the Start button to open the Windows Search box.

  2. 2. Type cmd in it and select Run as administrator to start Command Prompt with full privileges.

    run cmd as admin
  3. 3. Enter the following line and press Enter:sfc/scannow

    run the sfc scan command
  4. 4. Wait until the process is done.

  5. 5. Close Command Prompt and restart your computer. To do that, click the Start button, select the Power button, and choose Restart.

    restart your pc
  6. The SFC command will completely scan your computer for issues, and it will provide a suitable solution (if available)

    So, it will for sure cover the Windows Settings app not opening problem, and besides that, it may solve some problems that you even didn’t know about.

If you have problems with the SFC process, we’ve got a guide that will help you learn what to do if the scannow command stops before finishing the process.

2. Use Powershell to reinstall preinstalled apps

  1. Right-click the Start button and select Windows PowerShell (Admin) from the list.
  2. Type or paste this code and press Enter to run it:powershell -ExecutionPolicy Unrestricted Add-AppxPackage -DisableDevelopmentMode -Register $Env:SystemRoot\ImmersiveControlPanel\AppxManifest.xml
  3. This process might take a while, so make sure that you wait until it’s finished.

3. Run DISM

  1. Click the Start button, type cmd and choose Run as administrator to start Command Prompt with full rights.
  2. Type in the following command and press Enter:DISM.exe /Online /Cleanup-image /Restorehealth
  3. Wait for the process to finish, then click the Start button, select the Power button and choose Restart to reboot your PC.

Deployment Image Servicing and Management (DISM) is another built-in troubleshooting tool from Windows.

As its name says, DISM deploys the system image all over again, refreshing all the system features on the way, including the Settings app. Do not hesitate to learn what to do if DISM fails before finishing the process.

4. Update Windows

  1. Click the Start button and type update, then select Check for updates from the results.
  2. Now, click the Check for updates button. If there are any new updates, the system will download and install them.

Microsoft usually releases patches and fixes for various system problems through Windows Update.

The solution above still directs you to the Settings app so if you still can’t access it, the only solution you have in this case is to install the updates manually.

Go to the Windows Update Catalog page, find the latest update for your version of Windows 10, and follow further instructions to download the update directly.

5. Create a new user account

  1. Click the Start button, type cmd and select Run as administrator to start Command Prompt with full privileges.
  2. Type or paste the following command and press Enter to run it (make sure you replace username and password with the user name and password of your choice):net user /add username and password
  3. Now give it administrator privileges by entering the following command and press Enter (make sure you replace username with the name of the user you created earlier):net localgroup administrators username /add
  4. Now login with the new user you just created and try to open the Settings app again.

If your user account is broken or corrupted, you may not be able to access all the Windows 10 features. The same thing may happen if you’re using a user account that doesn’t have administrative rights.

So, make sure that your account has all the necessary permissions to access the Settings page. If not, you can create a new account and check if this solved the problem.

And we can also help you find out what to do if your user profile is corrupted.

What can I do if Windows 10 Settings won’t open in Safe Mode?

  1. Press and hold the power button to force your computer to shut down (You may need to perform this action more than once).
  2. Once your computer boots into the blue screen, select Troubleshoot among the options.
  3. Next, go to Advanced options and choose Startup Repair.Startup repair to repair Windows 10
  4. Introduce the credentials associated with your user account and proceed with the Startup Repair.

If the Windows Settings won’t open (not even in Safe Mode), you should be able to recover them with this method.

Are there any other possible issues with the Settings app?

Here are some more examples of similar issues you can resolve with the same solutions:

  • Windows 10 Settings app won’t open – The most common issue with the Settings app in Windows 10 is when you just click the icon, but nothing happens.
  • Windows 10 Settings app missing – In some cases, you won’t be able to even locate the Settings app icon, as it completely disappeared from the Start Menu.
  • Windows 10 Settings app crashes – Another common issue is when you’re actually able to open the Settings app, but it crashes immediately upon launch.
  • Windows 10 Settings grayed out – And the least common (but still possible) scenario is when the Settings app icon is just grayed out in the Start Menu.

How can I quickly open the Settings app?

Sometimes, just a way of opening the Settings app might be the problem, so trying out different methods may lead to success. That’s why we encourage you to check a few more suggestions:

  1. Use the Start button

This is the most simple way of doing it. Just click the Start button and select Settings.

2. Use the Search function

A close runner-up solution is to click the Start button, then type settings and open the app from the results.

3. Right-click the Start button

It’s also easy to right-click the Start button and select Settings from the list of options.

4. Use the Settings shortcut

You can also open the Settings app by using the Windows key + I shortcut from your keyboard. It’s extremely fast and effective.

Try to remember it because if you find yourself in a situation where the mouse is not responding or the screen is frozen, this might be the only method left.

5. Use the Run app

  1. Press the Windows key + R to start the Run app.
  2. Type ms-settings: (include the : character at the end. It’s not a mistake) and press Enter or click OK.

6. Use Command Prompt

  1. Click the Start button, type cmd and select Run as administrator.
  2. Type start ms-settings: and press Enter to run it.

Of course, there are many ways to open the Settings app. For instance, you can also ask Cortana to open it, but the important thing is to actually work.

What does Windows cannot find ms-settings mean?

Several of our readers encountered the message when trying to start Settings from the Command Prompt console: Windows cannot find ms-settings. Make sure you typed the name correctly, and then try again.

Luckily, this is just a simple typing error. The correct command is start ms-settings:. Without the semicolon symbol (:) at the end, you get this error.

We hope that our solutions helped you solve the Settings app problem in Windows 10 and now everything is back to normal. Now, the Settings app can be just one side to the story. If no Windows 10 programs seem to work, you might want to take your troubleshooting even further.

If this issue occurred after a Windows update, make sure you installed any patch after it because Microsoft may have already released one.

Even if you still can’t access the Settings, you will get a notification in the system tray and you might be able to get it from there.

Now that you fixed the Settings app in Windows 10, you might be interested in the best Windows 10 optimizer software that can solve system issues and make your PC run faster.

For more questions and suggestions, reach out to the comments section below and we’ll be sure to take a look.

More about the topics: All the Windows 10 tips you need to Know


Source: Windows Settings Won't Open: 5 Ways to Fix it in Windows 10

8/14/2025

Here's Everything I Disable When Buying a New Windows Device

Nearly all new Windows laptops come pre-installed with Windows 11. But with it, you also get a bunch of unnecessary features that can slow down your system, compromise your privacy, or bombard you with annoying notifications. That’s why I tweak a few settings before I start using my new device.

5Save Resources by Disabling Unnecessary Apps

Your brand-new computer might feel fast at first, but it can slowly get sluggish if you don’t turn off certain apps and services running in the background. These could be pre-installed programs from the manufacturer or unnecessary Windows services that eat up system resources. Disabling or even deleting them can help your computer run faster.

To stop these apps from slowing things down, click the Start button and open "Task Manager." There, you can click on the top of the Memory, CPU, GPU, and Disk columns to sort and see which apps use the most resources. Before turning anything off or removing an app, research the process online to understand what the process entails.

Arranging processes consuming RAM in descending order in Task Manager.

If the process isn’t tied to a core system function, it’s safe to disable it. Right-click on it and select 'Disable'. If it’s part of an app you don’t need, uninstall the app.

To reiterate, you should avoid turning off any process or service that's crucial to Windows, as doing so could lead to serious problems and prevent your system from running properly.

4Turn Off Extra Visual Effects

Windows comes with several visual effects, such as fading and sliding animations, shadows under windows, and smooth transitions when opening or closing apps. These make the interface look more polished and modern. But, they also put extra load on your CPU and GPU, which can slow down your system, especially on lower-end machines.

For this reason, I prefer to turn them off. To disable visual effects, right-click the Start menu and go to System > About. Then, click on "Advanced System Settings." Under the "Advanced" tab, click the "Settings" button in the Performance section.

Opening the Advanced system settings from the Windows Settings app.

In the Performance Options window that opens, you can either choose "Adjust for Best Performance" to turn off all effects or select "Custom" to disable only the ones you don’t want.

Click the button next to 'Adjust For Best Performance.'

3Get Rid of Annoying Pop-Ups and Suggestions

By default, Windows shows pop-up notifications with tips, suggestions, and feature updates to help improve our experience. While these might occasionally be useful, I find them distracting. That’s why I turn them off. It makes working on the PC less annoying, while also slightly speeding up the login process and reducing background activity.

To reduce annoying pop-ups and suggestions, right-click the Start button, open the "Settings" app, and navigate to System > Notifications. Then, scroll down and expand the "Additional Settings" section. Uncheck any options you don’t find helpful. You’ll also see a list of apps that can send notifications—if any of them feel unnecessary or annoying, switch their toggle off.

Disabling notifications in the Windows settings.

2Change Your Privacy Settings

Did you know that Windows collects data about how you use your device, including your location, the apps you use, and your interaction with Windows services? While some features, such as location tracking, can be helpful for apps like Weather, Maps, or the Microsoft Store, others may feel intrusive.

That’s why one of the first things I do when setting up a new computer is tweak the privacy settings. To reduce the amount of data sent to Microsoft, go to Settings > Privacy and Security > Diagnostics & Feedback and adjust the options to suit your preferences.

Turn off send optional diagnostic data toggle in the Settings app.

Next, go to the “General” tab and turn off the option that allows apps to use your advertising ID for personalized ads.

General privacy settings on Windows displayed.

You should also review app permissions to manage access to your location, camera, microphone, contacts, and other sensitive data, and disable unnecessary permissions.

1Turn Off Clipboard History

Windows 10 and 11 come with a feature called Clipboard History, which saves everything you copy—whether it’s text, images, or links—so you can easily access them later. While this feature can be helpful, it also comes with privacy concerns. If you share your device with others, they might be able to see sensitive information you've copied.

That’s why I prefer to keep it turned off. To disable Clipboard History, right-click on the Start button and open the "Settings" app. Then, go to System > Clipboard, and switch off the toggle next to "Clipboard history." This helps prevent your copied content from being stored on the device, but keep in mind that you’ll lose the ability to access your clipboard history.

In Settings, flip the switch beside "Clipboard History" to the "Off" position.

Alternatively, you can keep the feature on for convenience while you're using your device, and then clear the clipboard history and disable this feature before handing it over to someone else.


Setting up a new Windows PC is more than just creating an account and logging in. To keep your system running smoothly, protect your privacy, and cut down on annoying pop-ups and notifications, you’ll need to adjust a few key settings. Making these changes improves my experience, and if you’ve just bought a new device—or plan to— consider doing the same.

Source: https://www.howtogeek.com/everything-i-disable-when-buying-a-new-windows-device/